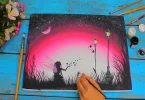
Watercolor painting is one of the most versatile and relaxing art forms. Its soft, flowing colors and transparent layers make it perfect for beginners and experienced artists alike. If you’ve ever admired dreamy landscapes, delicate flowers, or subtle washes of color, you’ve seen the magic of watercolor painting techniques in action.
The beauty of watercolor lies in its unpredictability. Unlike other paints, watercolors can create soft blends, spontaneous textures, and beautiful effects with just a few simple strokes. In this guide, we’ll explore essential watercolor techniques, tips, mistakes to avoid, and practical ways to start your painting journey.
Why Watercolor Painting is Perfect for Beginners
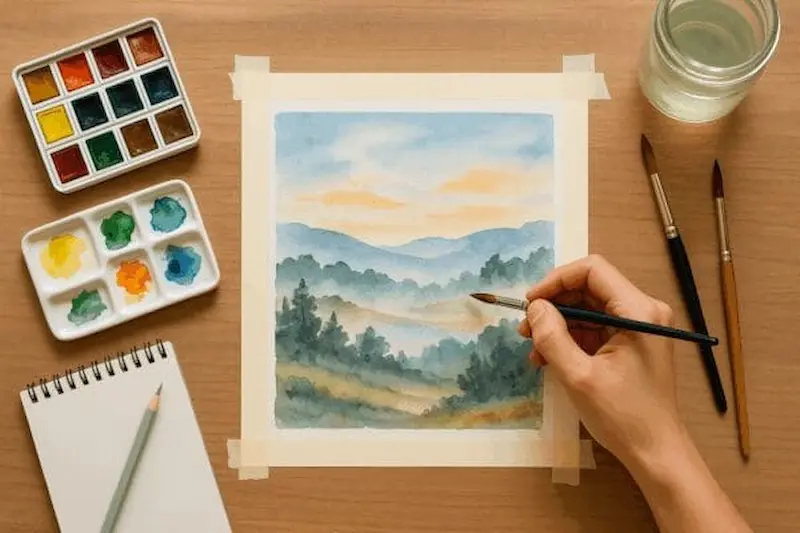
Watercolors are beginner-friendly because they require minimal materials but offer endless creative possibilities. You only need:
- Watercolor paints (tubes or pans)
- Watercolor paper (preferably 140lb/300gsm for durability)
- Brushes (round and flat brushes are best to start)
- Water and palette
Benefits of starting with watercolor:
- Lightweight and portable – easy to paint anywhere
- Affordable – basic supplies are inexpensive
- Fast learning curve – simple techniques create beautiful results quickly
- Relaxing and therapeutic – painting with watercolors can reduce stress and improve focus
- Versatile – works for landscapes, abstracts, portraits, and illustrations
Essential Watercolor Painting Techniques
Here’s a detailed breakdown of the most useful watercolor painting techniques for beginners and beyond:
1. Wet-on-Wet Technique
What it is: Applying wet paint onto wet paper.
Effect: Colors blend naturally, creating soft, flowing transitions.
Use cases: Skies, clouds, oceans, misty landscapes.
Tips for beginners:
- Moisten the paper lightly before applying paint.
- Use soft, flowing strokes.
- Experiment with adding different colors to see how they merge naturally.
2. Wet-on-Dry Technique
What it is: Applying wet paint onto dry paper.
Effect: Creates defined shapes and sharper edges.
Use cases: Leaves, flowers, buildings, and objects requiring detail.
Tips:
- Ideal for layering over previously dried washes.
- Use controlled brush strokes to maintain crisp lines.
3. Dry Brush Technique
What it is: Using a brush with minimal water.
Effect: Produces rough, textured strokes.
Use cases: Tree bark, grass, textured surfaces, and highlights.
Tips:
- Wipe excess water before painting.
- Light pressure creates subtle textures; heavier pressure gives a bolder effect.
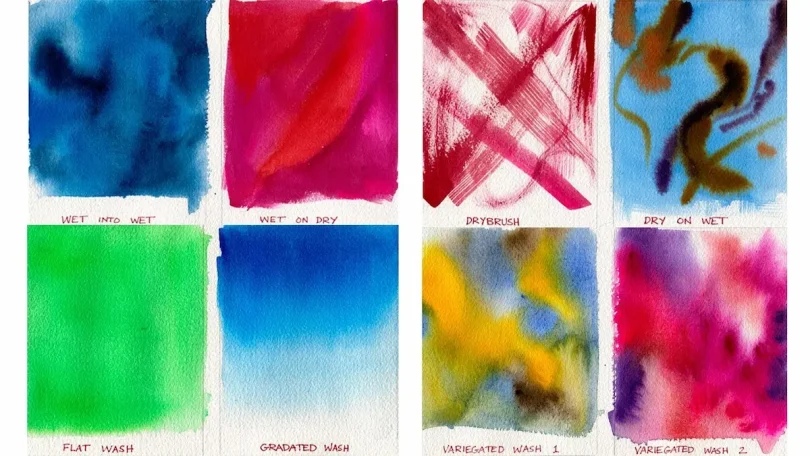
4. Wash Technique
A wash is a large area of diluted color applied evenly or gradually.
Types of washes:
- Flat wash: Single uniform color across the paper.
- Graded wash: Color transitions from dark to light.
- Variegated wash: Multiple colors blend into one another.
Tips:
- Use a large flat brush for smooth washes.
- Practice steady, even brush strokes to avoid streaks.
5. Layering or Glazing Technique
What it is: Painting one layer of color over a dry layer.
Effect: Adds depth, richness, and shadows.
Use cases: Gradual color transitions, shadows, landscapes, and objects.
Tips:
- Let each layer dry completely before adding the next.
- Start with light colors and build gradually.
6. Lifting Technique
What it is: Removing paint from paper using a damp brush, sponge, or tissue.
Effect: Creates highlights or corrects mistakes.
Use cases: Clouds, light reflections, and highlights on objects.
Tips:
- Work while the paint is still damp for easier lifting.
- Test on scrap paper to avoid tearing your artwork.
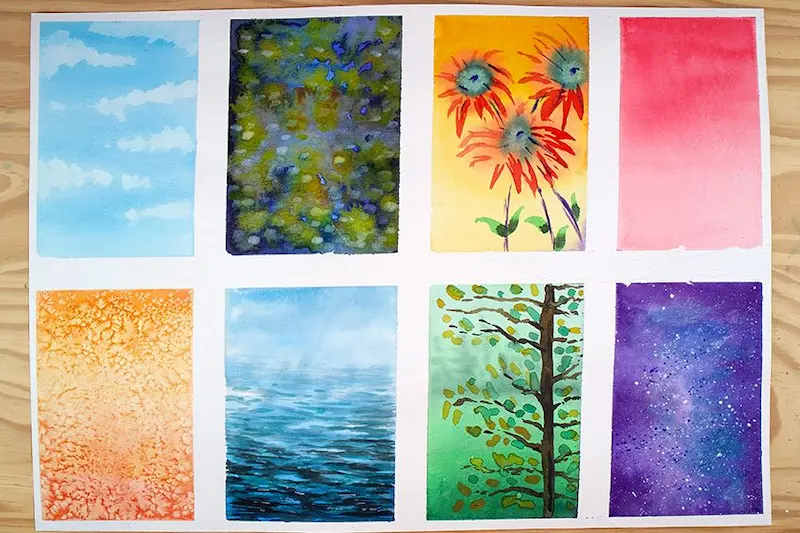
7. Splattering Technique
What it is: Flicking paint onto paper with a brush or toothbrush.
Effect: Adds texture, randomness, and creative energy.
Use cases: Stars, rain, abstract textures, and foliage.
Tips:
- Protect surrounding areas to avoid unwanted splashes.
- Vary brush pressure for different splatter sizes.
8. Salt Texture Technique
What it is: Sprinkling salt onto wet watercolor paint.
Effect: Creates unique, crystalline textures.
Use cases: Snow effects, textured landscapes, and abstract patterns.
Tips:
- Sprinkle coarse salt for a dramatic effect, fine salt for subtle texture.
- Remove salt after the paint dries completely.
9. Masking Technique
What it is: Using masking fluid to protect areas of paper before painting.
Effect: Keeps areas white or untouched while painting over them.
Use cases: Highlights, stars, or sharp lines.
Tips:
- Let masking fluid dry before painting.
- Remove gently once the paint is dry.
Watercolor Painting Techniques for Beginners
If you’re just starting out, focus on mastering these techniques first:
- Wet-on-wet for soft backgrounds
- Wet-on-dry for details
- Flat and graded washes
- Layering with thin glazes
- Simple textures using dry brush or splattering
Practice each technique separately, then combine them in your paintings.
You may also like to read this:
Creative DIY Art Projects for Home, Kids & Beginners
Famous and Emerging Artists: Inspiration & Creative Journeys
Fun Art Project Ideas for Kids, Adults, and Beginners
Personal Art Project Ideas for Creative Expression at Home
Common Mistakes Beginners Make
- Using too much water – can cause paper to buckle.
- Overworking the paint – may create muddy colors.
- Skipping practice – smooth washes and blends require repetition.
- Low-quality paper – thin paper tears easily with water.
- Impatience – layering and drying take time.
Pro tip: Start small and simple. Even a 5×7 inch painting can teach a lot.
Tips to Improve Your Watercolor Skills
- Practice daily, even for 15–20 minutes.
- Limit your color palette at first to avoid muddy colors.
- Experiment with water-to-paint ratios for different effects.
- Keep a practice journal of techniques and results.
- Don’t fear mistakes—they teach you how water behaves.
Final Thoughts
Watercolor painting techniques are fun, versatile, and full of creative possibilities. By learning basic techniques like wet-on-wet, dry brushing, layering, and washes, you can create stunning artwork even as a beginner.
Remember, watercolor is all about flow, experimentation, and patience. The more you practice, the more confident and creative you’ll become. So pick up your brushes, enjoy the colors, and start your watercolor journey today!
Frequently Asked Questions (FAQs)
What are watercolor painting techniques?
Watercolor painting techniques are methods for applying watercolor paint, such as wet-on-wet, wet-on-dry, dry brush, layering, washes, and splattering, to create different effects.
Are watercolor painting techniques suitable for beginners?
Yes! Many watercolor techniques are beginner-friendly, and even simple washes or wet-on-wet blending can create beautiful results with practice.
What is the easiest watercolor technique to start with?
Flat washes and wet-on-wet techniques are the easiest for beginners. They allow soft colors and natural blending without needing perfect control.
Which materials are needed for watercolor painting?
You only need basic watercolor paints, brushes (round and flat), watercolor paper (preferably 140lb/300gsm), a palette, and clean water to start.
Can watercolor techniques be used on paper other than watercolor paper?
Yes, but high-quality watercolor paper is recommended. Thin or regular paper can warp, tear, or produce uneven effects.